.png.c9b8f3e9eda461da3c0e9ca5ff8c6888.png)
In this article, let’s talk about esp8266 using the mqtt protocol for communication. And the operation of storing data into the database.
About MQTT
MQTT (Message Queue Telemetry Transmission Protocol) is a "lightweight" communication protocol based on publish/subscribe mode. The biggest advantage of MQTT is that it uses very little code and limited bandwidth to provide real-time and reliable messaging services for connecting remote devices.
Build an MQTT server
Here we use emqx to build an mqtt server in centos. The official provides an intuitive installation method, which is very simple. Here I installed EMQX5.0 (enterprise version)
wget https://www.emqx.com/zh/downloads/enterprise/v5.0.0/emqx-enterprise-5.0.0-el7-arm64.rpm
yum install emqx-enterprise-5.0.0-el7-arm64.rpm
sudo systemctl start emqx 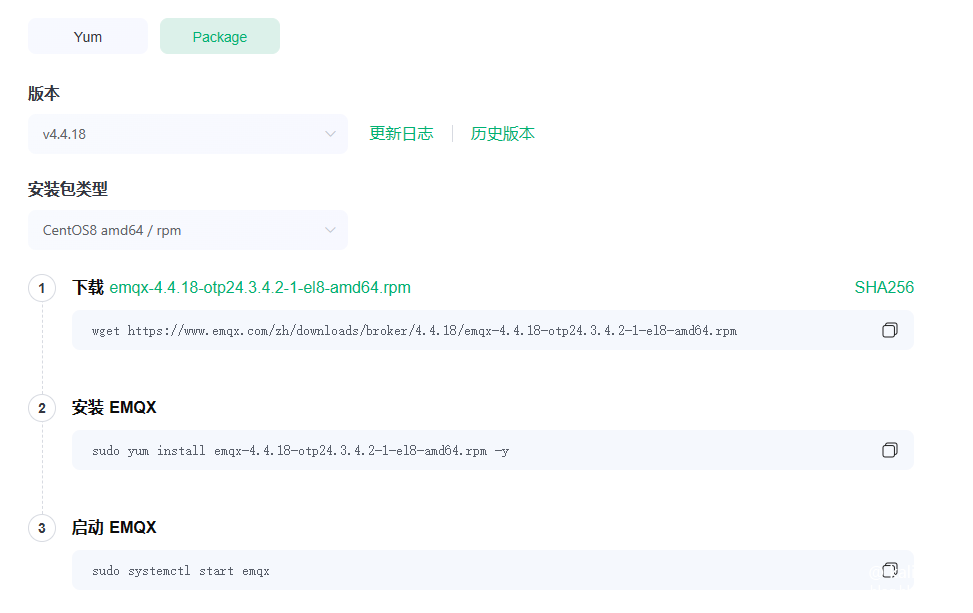
It should be noted that you should try not to download the latest version. Because many features cost money in the latest version. More historical versions can be downloaded here https://www.emqx.com/zh/downloads/enterprise
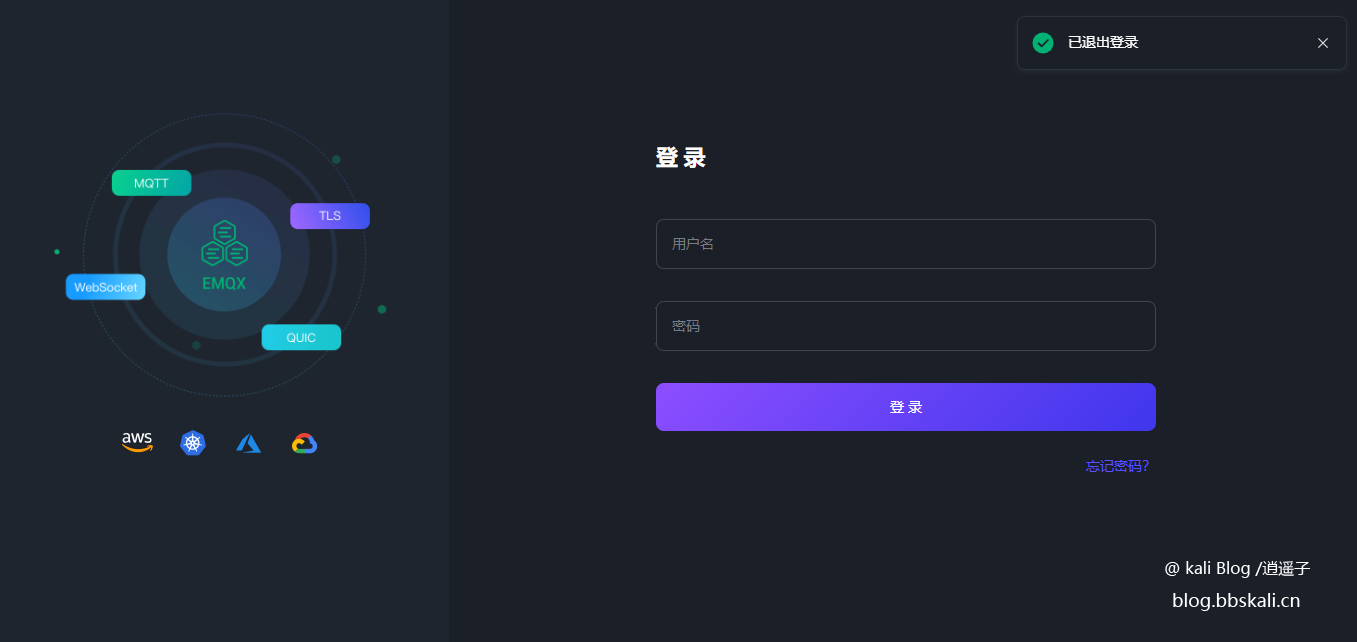
Then enter the initial account admin public login.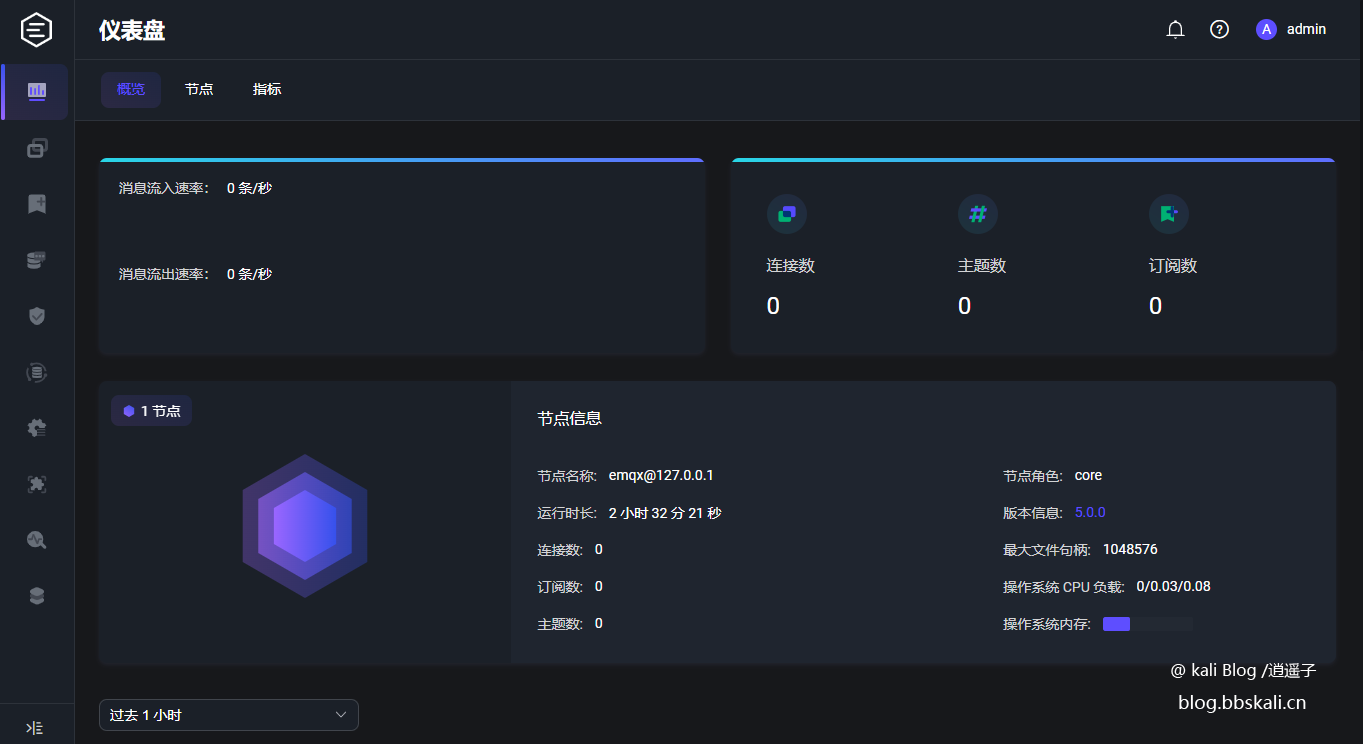
Configure esp8266
We need to send DHT11 data through the mqtt protocol. The code for burning is as follows.
#include 'DHT.h'
#include ESP8266WiFi.h
#include PubSubClient.h
/************ WIFI and MQTT Information (CHANGE THESE FOR YOUR SETUP) ******************/
const char* ssid='PDCN'; //type your WIFI information inside the quotes
const char* password='1234567890';
const char* mqtt_server='192.168.123.173';
const char* mqtt_username='admin';
const char* mqtt_password='admin';
const int mqtt_port=1883;
const char* mqtt_sensor_topic='dht11';
unsigned long last_send=0;
#define DHTPIN 4
#define DHTTYPE DHT11
DHT dht(DHTPIN, DHTTYPE);
WiFiClient espClient;
PubSubClient client(espClient);
void setup() {
Serial.begin(115200);
dht.begin();
setupWifi();
client.setServer(mqtt_server, mqtt_port);
}
//Connect to Wifi
void setupWifi() {
WiFi.mode(WIFI_STA);
WiFi.begin(ssid, password);
while (WiFi.status() !=WL_CONNECTED) {
delay(500);
Serial.print('.');
}
Serial.println('WiFi connected');
Serial.println('IP address:');
Serial.println(WiFi.localIP());
}
void loop()
{
if ( !client.connected() ) { //Whether the MQTT connection is successful
reconnect();
}
if ( millis() - last_send 5000 ) { //Publish temperature and humidity data every 5 seconds
handleTemperatureAndHumidity();
last_send=millis();
}
client.loop();
}
void reconnect() {
//Loop until we're reconnected
while (!client.connected()) {
Serial.print('Attempting MQTT connection.');
//Attempt to connect
if (client.connect(mqtt_sensor_topic, mqtt_username, mqtt_password)) {
Serial.println('connected');
} else {
Serial.print('failed, rc=');
Serial.print(client.state());
Serial.println(' try again in 5 seconds');
delay(5000);
}
}
}
void handleTemperatureAndHumidity() {
float h=dht.readHumidity();
float t=dht.readTemperature();
if (isnan(h) || isnan(t) ) {
Serial.println(F('Failed to read from DHT sensor!'));
return;
}
//Prepare JSON Payload
String payload='{';
payload +='\'temp\':'; payload +=t; payload +=',';
payload +='\'humi\':'; payload +=h;
payload +='}';
//Send temperature and humidity data
char attributes[100];
payload.toCharArray( attributes, 100 );
client.publish( mqtt_sensor_topic, attributes );
Serial.println( attributes );
}
In the above code, we introduce PubSubClient and DHT libraries. Install these two libraries in the ide. (Note the version, too high may not compile) 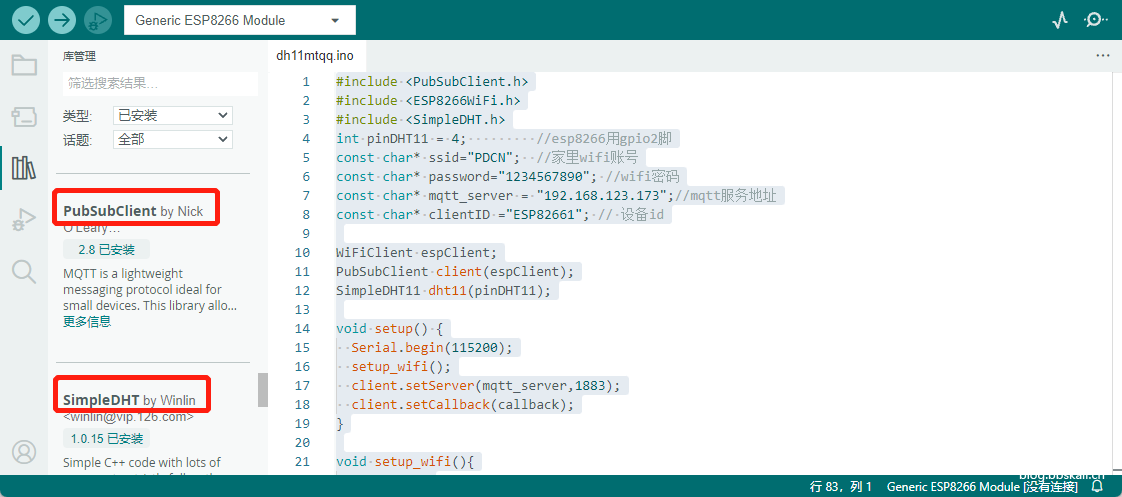
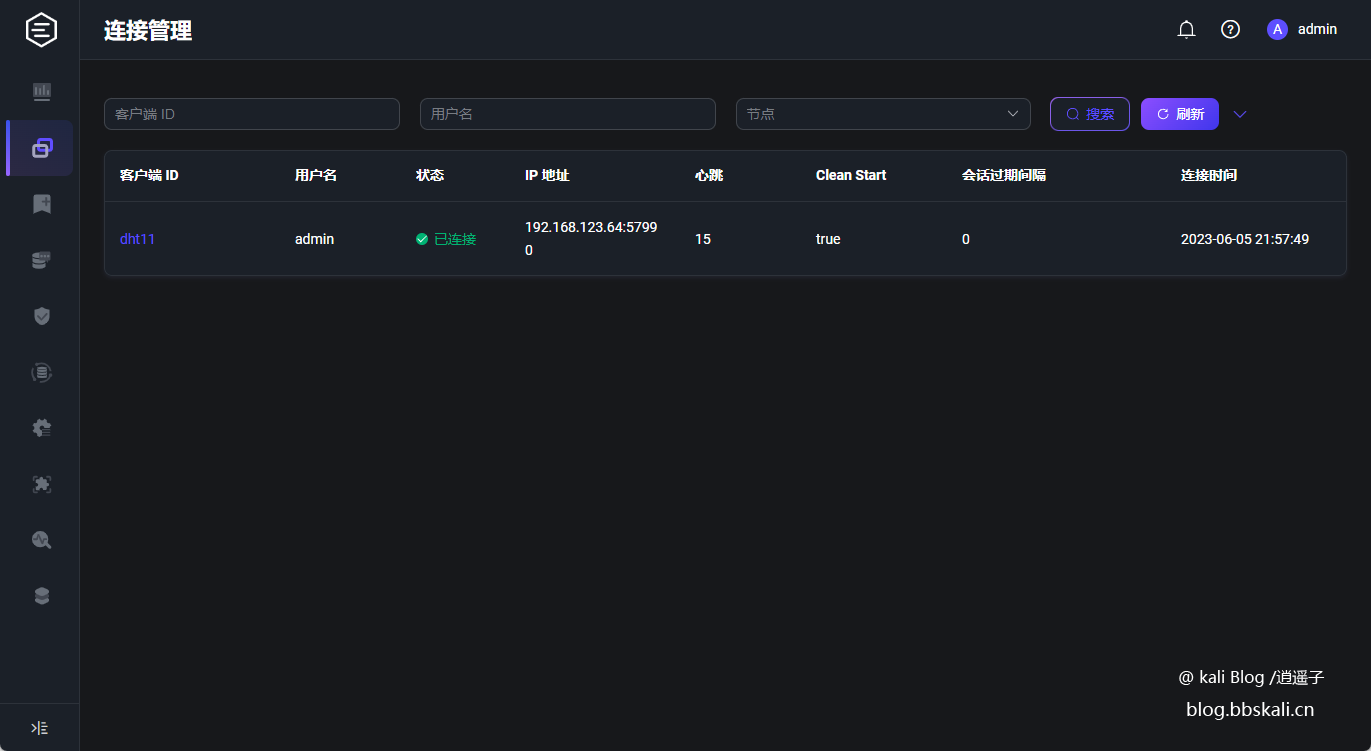
Upload the code to esp8266. After a while, we can see in emqx that the device has been launched.
View subscription data
In the above code, our subscription topic is dht11. Download mqtt tool mqttx. Create a new connection.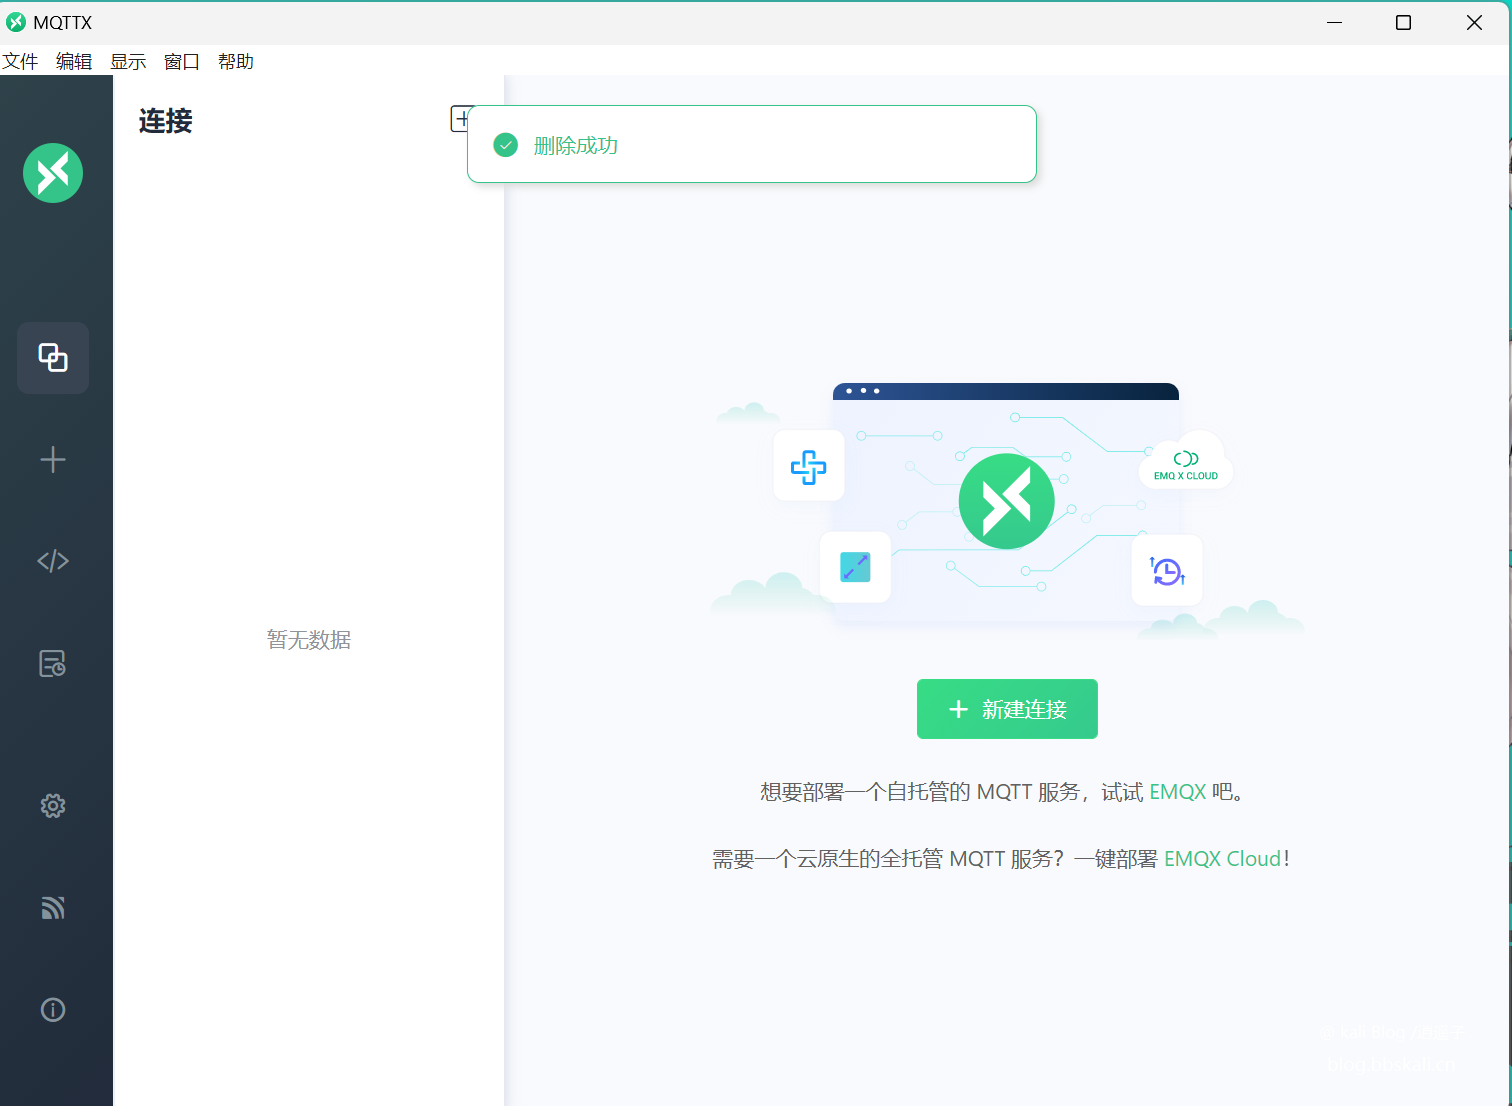
The specific configuration is as follows 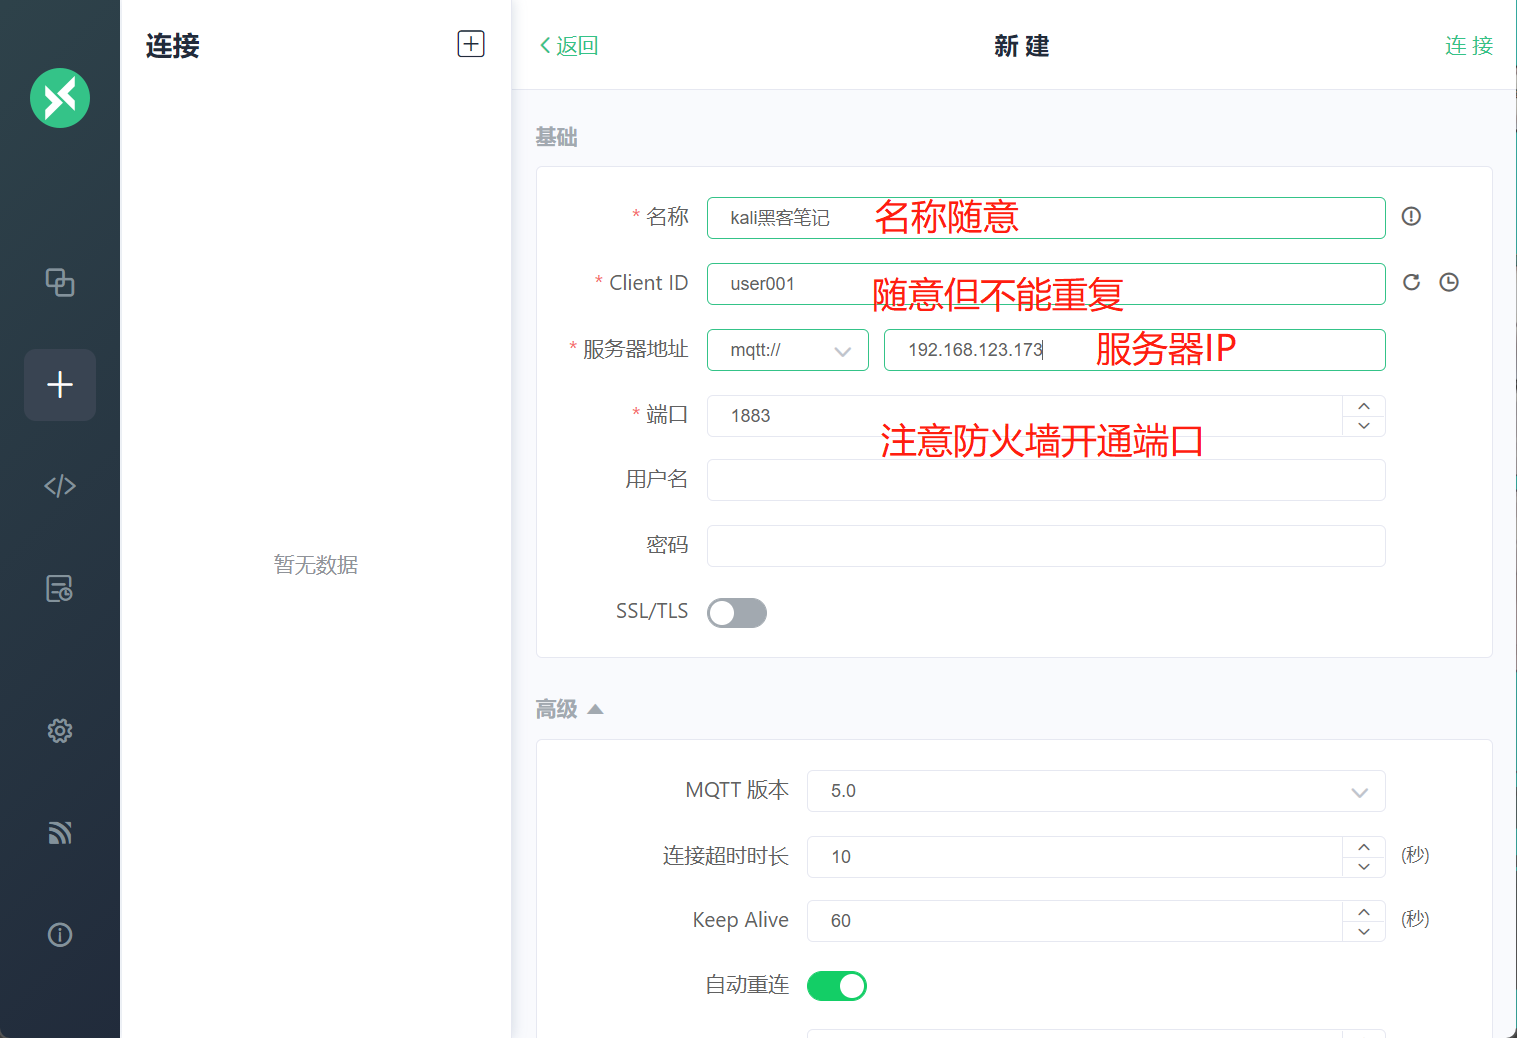
After the connection is complete, add a subscription 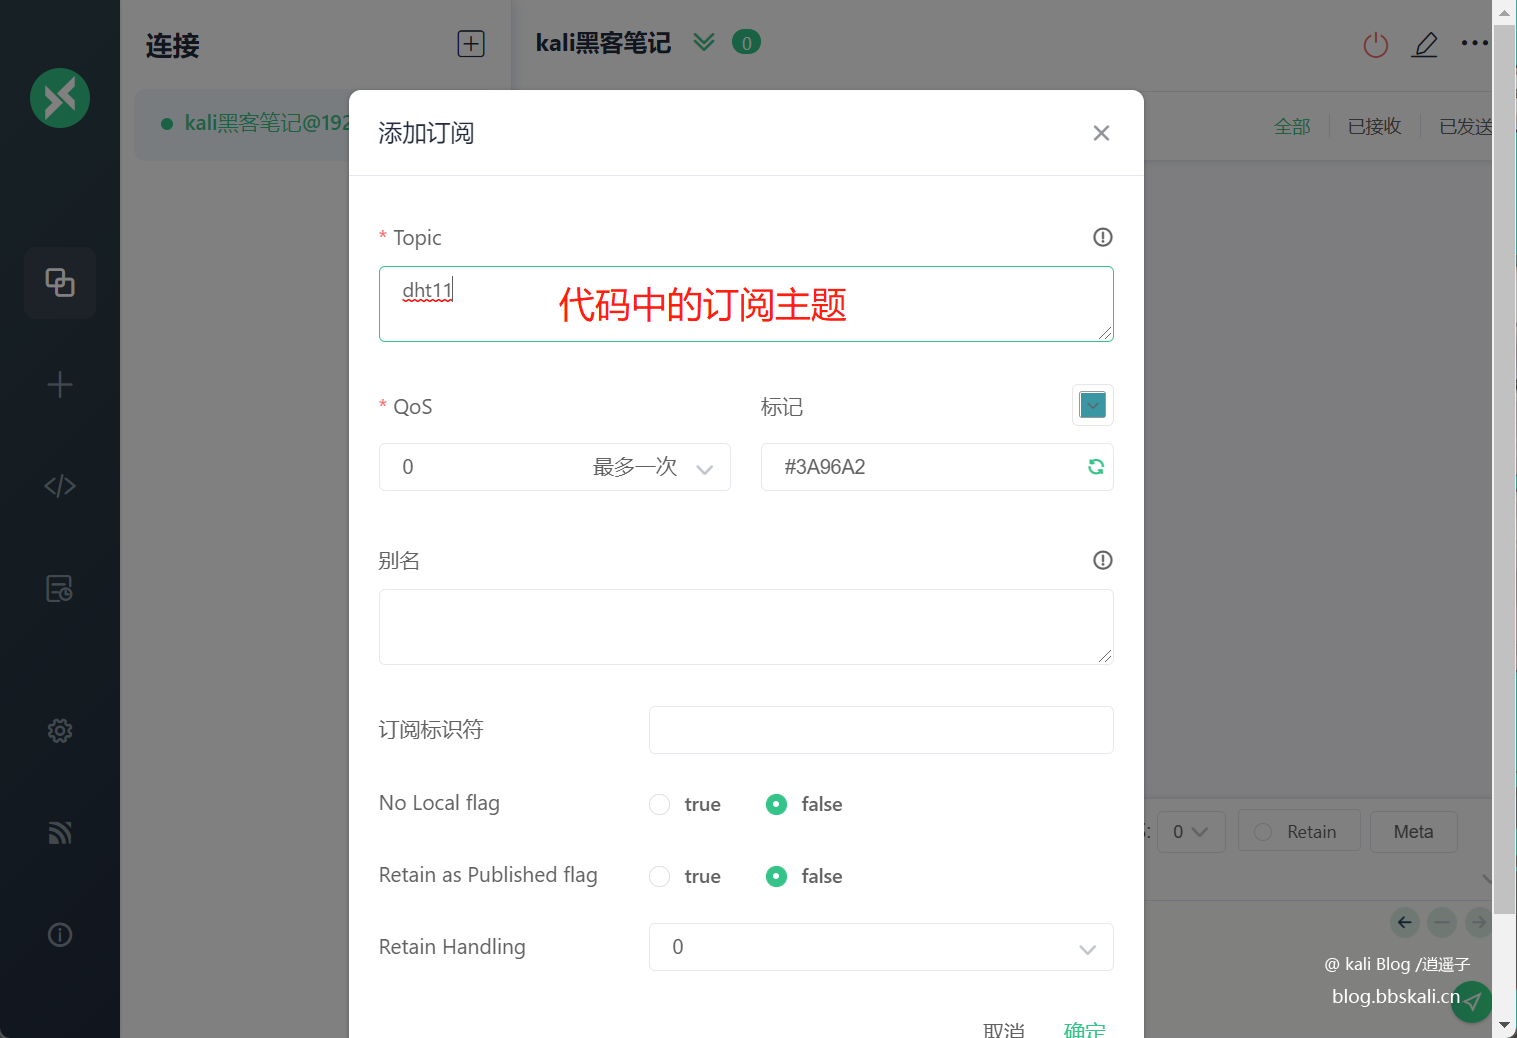
As follows, the data of dht11 in esp8266 was successfully obtained.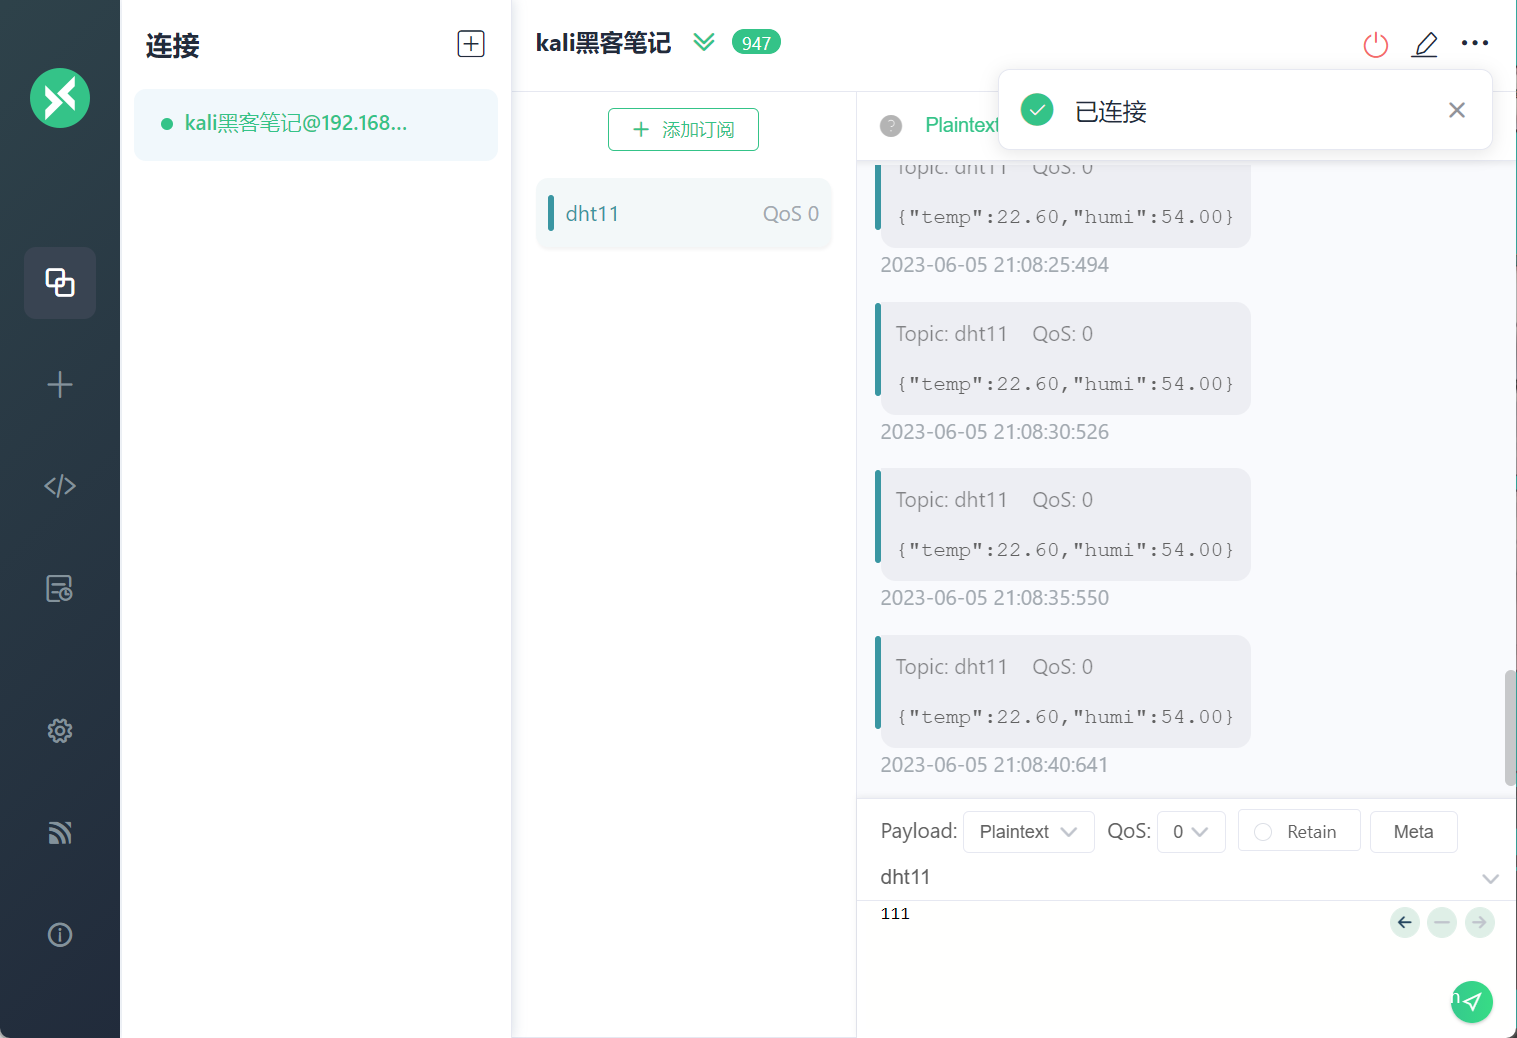
It should be noted that we need to process the data into json data to facilitate later entry into the database. Such as {'temp':23.40,'humi':57.00}
Save data into mysql
In order to facilitate data in later stages, we can store the data in mysql. The specific operations are as follows:
Click Data Bridge - Create - Resource type is mysql, fill in the corresponding mysql account and other information, and test it. If the resource is prompted, it proves that there is no problem.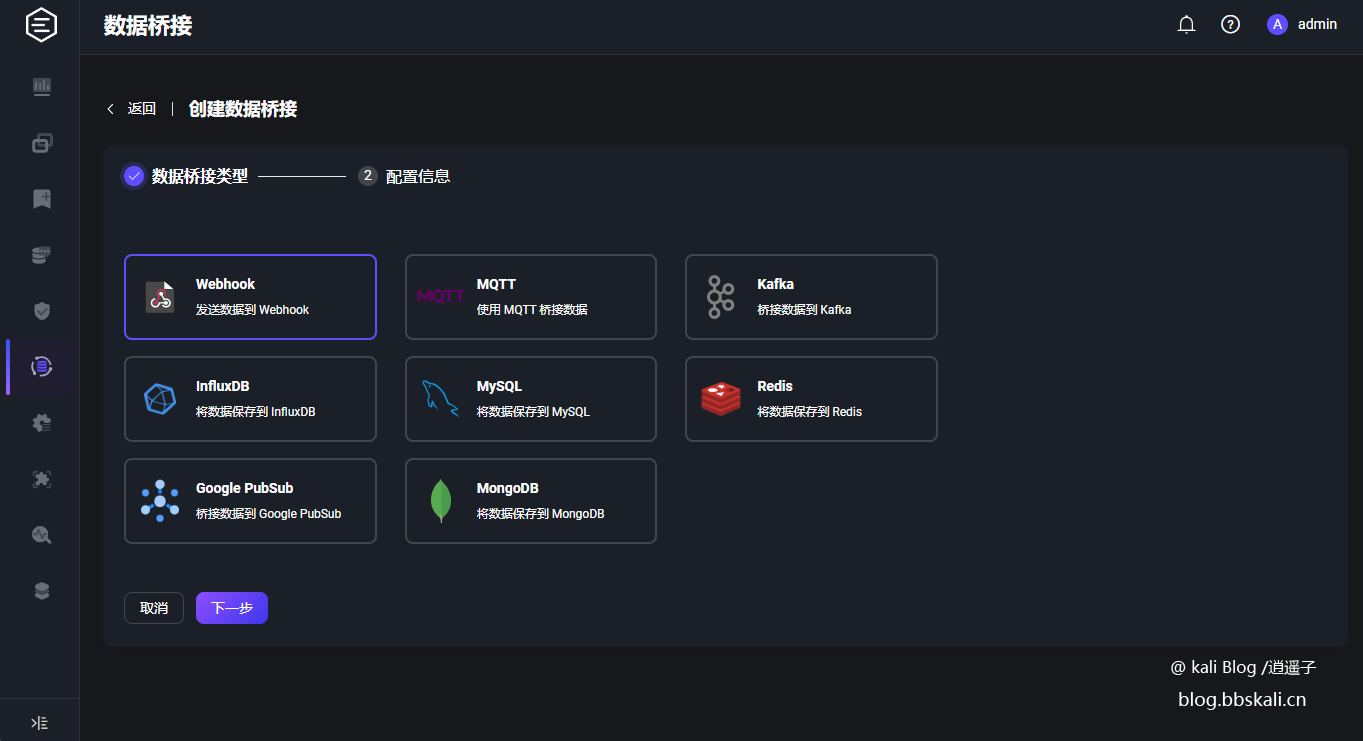
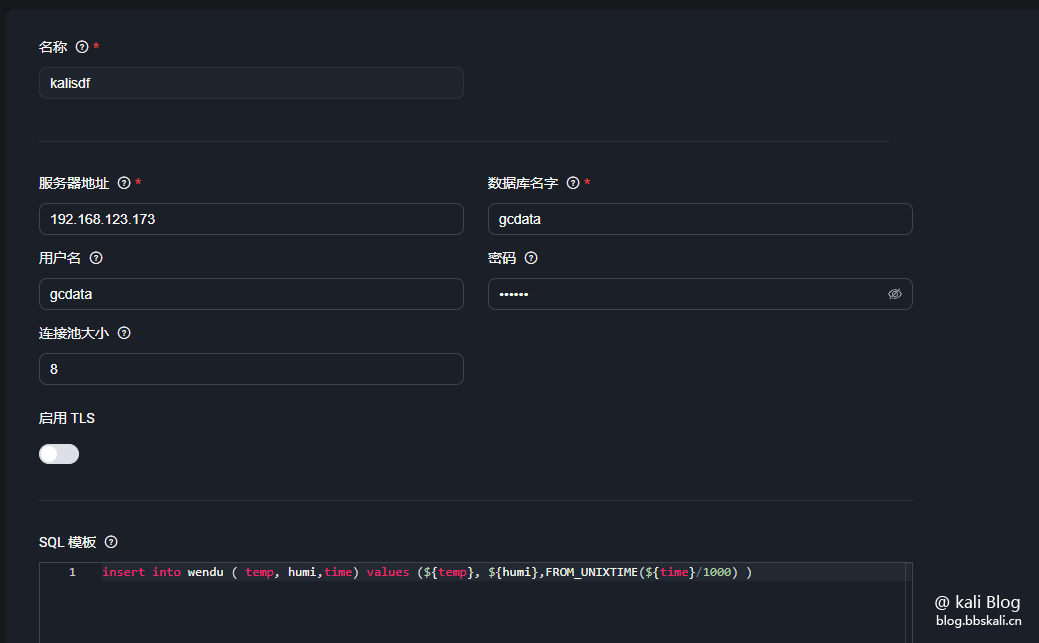
The content of the sql template is as follows
insert into wendu ( temp, humi, time) values (${temp}, ${humi}, FROM_UNIXTIME(${time}/1000) ) a simple SQL insert statement, that is, insert the corresponding value in the temp humi time field of the wendu table.
After the configuration is completed, the corresponding rules will be automatically prompted to configure 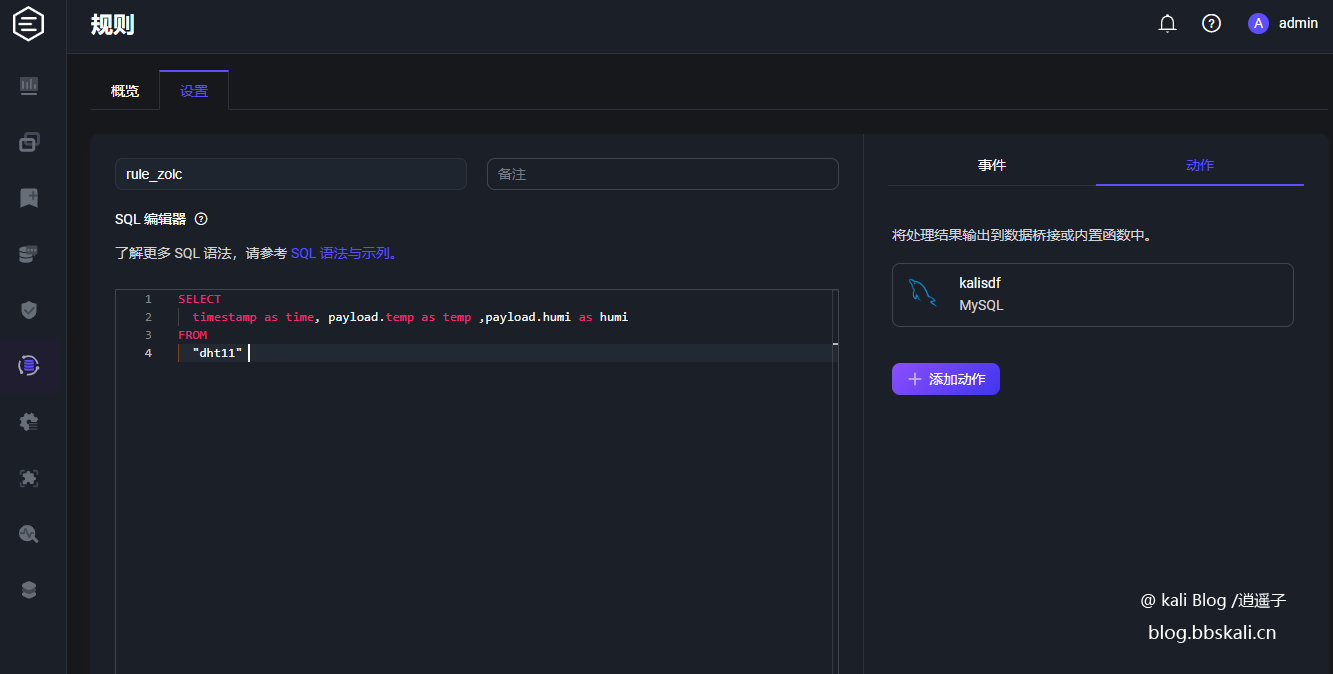
The code is as follows
SELECT
timestamp as time, payload.temp as temp ,payload.humi as humi #Get the value assign to the variable, pay attention to the comma separation.
FROM
'dht11' # Subscription topics for data subscription dht11 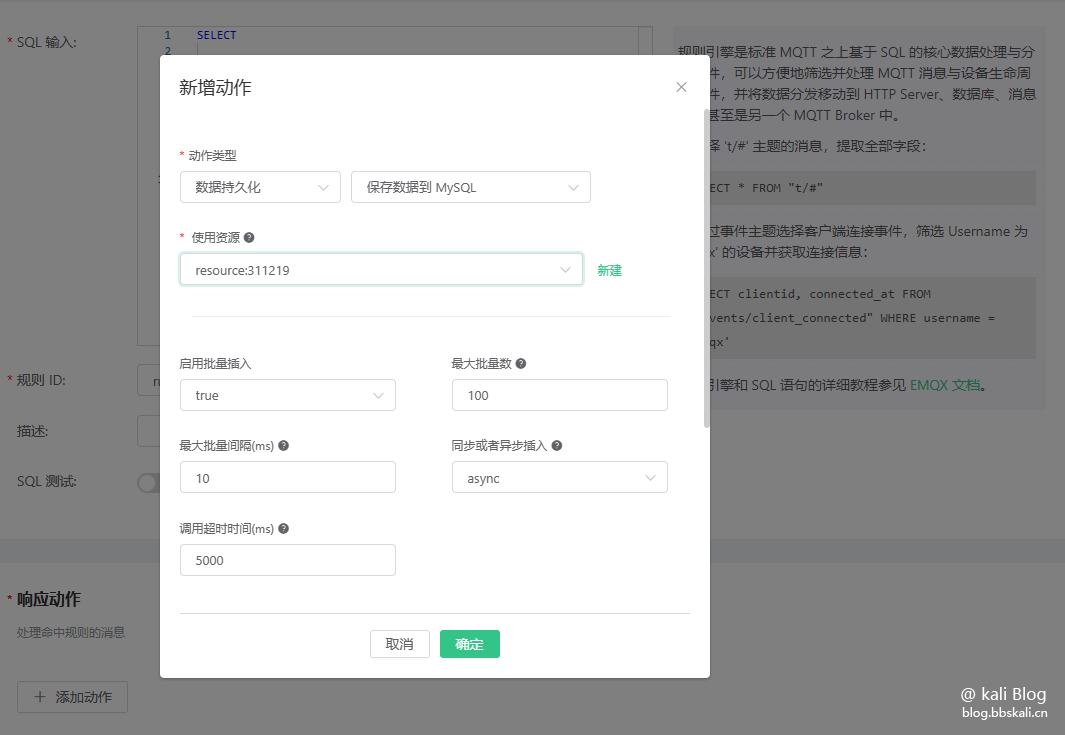
Now, we create a new wendu table in mysql. And create temp humi and time fields.
The final effect is as follows