.png.c9b8f3e9eda461da3c0e9ca5ff8c6888.png)
In this article, let’s take a look at how to use ESP8266+DHT11 and Binker to realize the reading of indoor temperature and humidity.
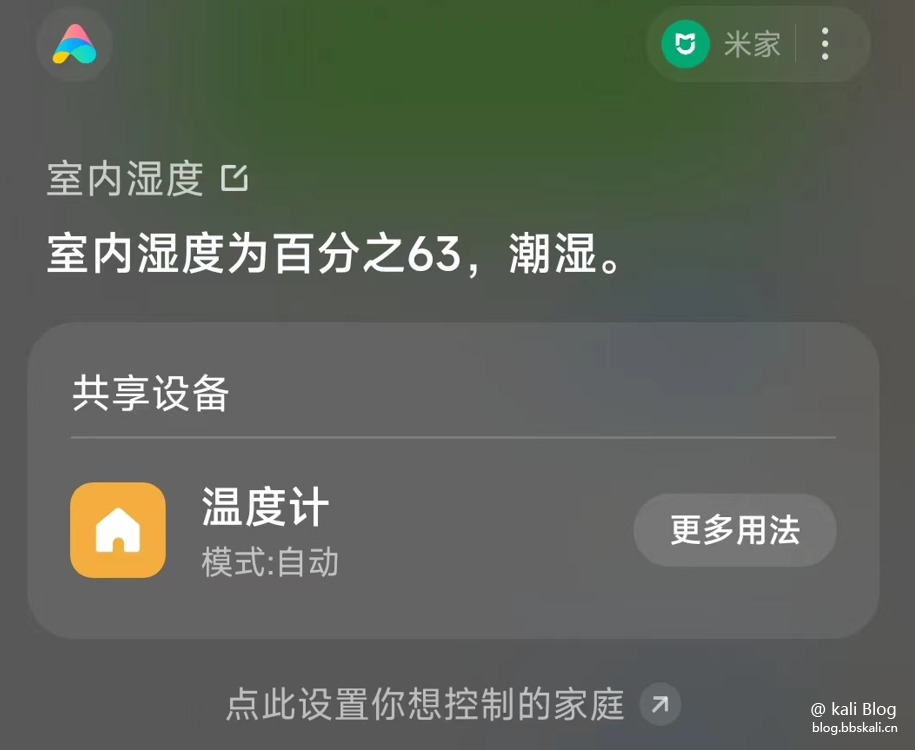
Achieve the effect


Preparation of materials
esp8266DHT11
Line connection
VCC-- 3VGND--GNDDATA-- 2
Code
#define BLINKER_WIFI
#define BLINKER_MIOT_SENSOR //Introduce Xiaoai classmate
#include Blinker.h
#include DHT.h //DHT11 sensor header file
#define DHTPIN 4 //Define DHT11 module connection pin io4 (D2 pin)
#define DHTTYPE DHT11 //Use the DHT11 temperature and humidity module, of course you can also replace other DHTs
char auth[]='1c2ce3eef946'; //The key key of the lamp app
char ssid[]='PDCN'; //WiFi name to connect to
char pswd[]='1234567890'; //WiFi password
BlinkerNumber HUMI('humi'); //Define the humidity data key name
BlinkerNumber TEMP('temp'); //Define the temperature data key name
DHT dht(DHTPIN, DHTTYPE); //Define dht
float humi_read=0, temp_read=0; //Initialize the read data
//Dashboard components
void heartbeat()
{
HUMI.print(humi_read); //Relay humidity data back to blinkerapp
TEMP.print(temp_read); //Relay the temperature data to blinkerapp
}
//Real-time curve chart component
void dataStorage()
{
Blinker.dataStorage('temp', temp_read);
Blinker.dataStorage('humi', humi_read);
}
//The data is returned to Xiao Ai classmate
void miotQuery(int32_t queryCode)
{
BLINKER_LOG('MIOT Query codes: ', queryCode);
int humi_read_int=humi_read; //Convert float to int type, integer
BlinkerMIOT.humi(humi_read_int); //Xiaoai receives humidity
BlinkerMIOT.temp(temp_read); //Xiaoai receives temperature
BlinkerMIOT.print();
}
void setup()
{
//Initialize the serial port Serial, enable debug output
Serial.begin(115200);//Bad rate
BLINKER_DEBUG.stream(Serial);
BLINKER_DEBUG.debugAll();
Blinker.begin(auth, ssid, pswd);//WIFI initialization settings
Blinker.attachHeartbeat(heartbeat);//Register dashboard
dht.begin();
BlinkerMIOT.attachQuery(miotQuery);//Register Xiaoai
Blinker.attachDataStorage(dataStorage);//Register real-time curve
}
void loop()
{
Blinker.run();//Responsible for processing the data received by blinker. Each time it runs, it will parse the data received by the device once. (This is very important)
float h=dht.readHumidity();//Read the humidity data collected by DHT11
float t=dht.readTemperature();//Read the temperature data collected by DHT11
if (isnan(h) || isnan(t))//Judge whether the temperature and humidity value is empty
{
BLINKER_LOG('Reading sensor data failed');
}
else
{
BLINKER_LOG('Humidity: ', h, ' %');//Print out debug information
BLINKER_LOG('Temperature: ', t, ' *C');
humi_read=h;
temp_read=t;
}
Blinker.delay(200);
//Delay function, maintains connection between devices and data reception processing during the delay process
}
About the temperature and humidity change curve
The cloud storage data here only supports networked devices. If the thermometer is powered off and the network is not stored, the data will not be stored, and it will suddenly decline in the curve chart, and it will suddenly rise after reconnection. The cloud storage function here is not very powerful. If you modify the code and re-upload the program, the data stored in the cloud will be cleared before.
2. Specific functions
(1) Cloud storage data function:
void dataStorage()//Cloud storage temperature and humidity data function
{
Blinker.dataStorage('temp', temp_read);//Storage temperature
Blinker.dataStorage('humi', humi_read);//Storage humidity
}Blinker.dataStorage('temp', temp_read); The first parameter is the data key name, which is used to display in the mobile phone icon, and the second parameter is the data variable to be stored.
(2) After writing the function in the code, you need to call this function in the main loop, and the call function is as follows:
Blinker.attachDataStorage(dataStorage); This function means that the above dataStorage function will be called every time the loop is to achieve the effect of storing the data obtained every time.
APP Layout


Little Love Effect